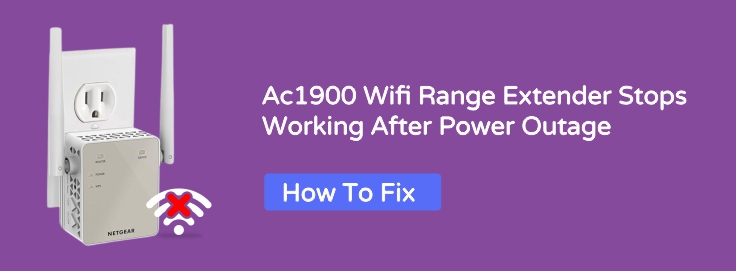
There is no idea when your power will be cut off, and if your devices do not have a battery backup, they may stop working. If your AC1900 WiFi range extender suddenly stops working after the power comes back on. Then there is nothing to worry about, this is a common problem. You can solve this problem by following this guide.
In this guide, you will discover some reliable ways to make your AC1900 extender work again
1. Start with Basic Checks
Before using deeper troubleshooting tips, try some simple and common checks:
- Plug another device into the same outlet to make sure it’s working properly.
- If you are using a different adapter, it might not be providing the correct voltage.
- If no lights at all, that could point to a power issue. A blinking or solid power light means it’s at least receiving power.
If everything seems fine on this front, but your Wi-Fi still isn’t working as before, proceed to the next step.
2. Reboot the Extender
Sometimes all your extender needs is a clean restart, which helps to resolve several minor issues:
- Unplug the extender from the wall.
- Wait for at least 30 seconds.
- Plug it back in and give it a couple of minutes to boot up fully.
You would be surprised how often this quick fix gets things running again.
3. Log In to the Extender Interface
If the extender turns on, but doesn’t extend the router’s signals, you need to reconnect it to your router. Steps to do that;
- Connect your phone or laptop to the extender’s default network
- Open a browser and go to mywifiext.net or enter 192.168.1.250 in the address bar.
- This will bring up the Netgear WiFi extender login screen. Enter your admin username and password
- Once logged in, follow the steps to reconnect your extender to your main router.
(Usually named something like NETGEAR_EXT)
(Defaults are “admin” and “password” unless you changed them)
This way essentially reboots your Netgear WiFi extender setup and can fix a lot of technical bugs after a power failure.
4. Reset the Extender to Factory Settings
If the problem doesn’t resolve after the restart, then it is time to reset the extender to its original factory settings. Steps to reset are:
- Find the reset button (usually a tiny hole on the back).
- Use a paperclip to press and hold the reset button for about 10 seconds.
- Release the button when you see the power light start blinking.
Once the reset is complete, you’ll need to perform the WiFi extender setup process again. That means logging into the extender using a browser and choosing your home WiFi network.
5. Use a Wired Setup
If the wireless setup isn’t working well, then you can also use an Ethernet cable to connect the extender to the router or the device to the extender.
- Plug one end of the cable into your router’s, and the other into the extender’s LAN port.
- Access the login page at mywifiext.net
- Go through the Netgear WiFi extender setup using the wired connection, which is often more stable.
A wired connection can be a big help if your device isn’t responding properly over WiFi.
6. Check for Firmware Updates
Sometimes, a power outage can interrupt an automatic update, here, you need to complete the updating process. To check for updates:
- Log in through the Netgear WiFi extender login page.
- Go to the firmware update section in the settings menu.
- If a new update is available, follow the instructions to install it.
Keeping your firmware updated can prevent future issues and improve performance.
Final Thoughts
It can be frustrating when a power outage affects your Wi-Fi network. But in most cases, you can fix it yourself using the solutions above. We provide several simple solutions that anyone can easily understand. If none of the above solutions work and the device still won’t turn on, it may be a sign of hardware damage from the outage.