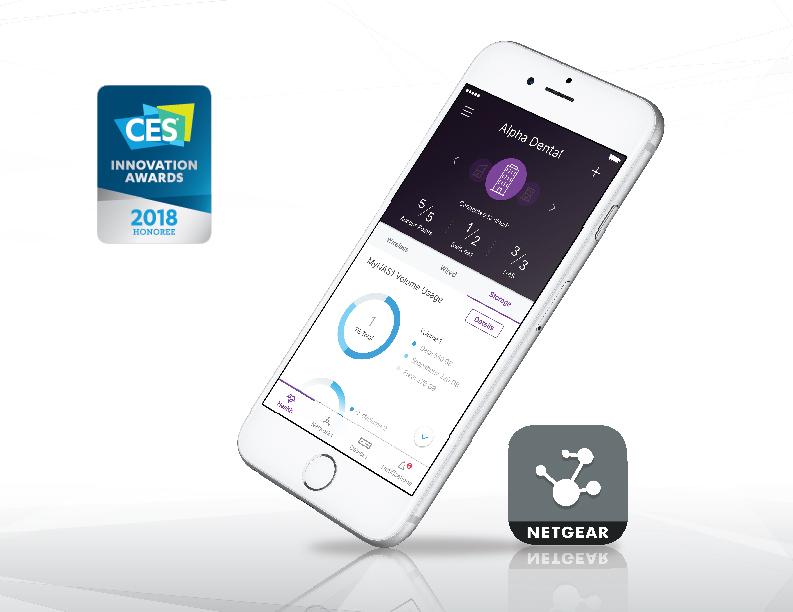
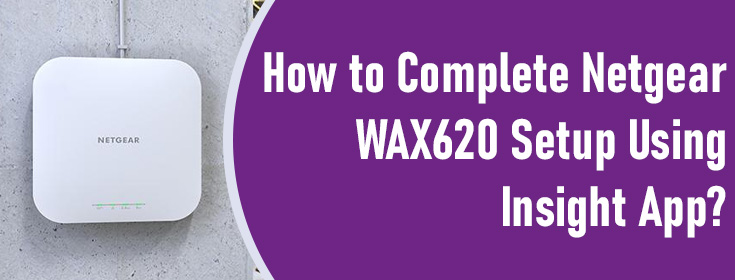
A lot of users only know the web-based management method i.e. the Standalone method of completing the Netgear WAX620 setup. This approach is very similar to accessing 192.168.1.250 for Netgear extender installation. However, this approach has a drawback. A person can only access his access point locally after setting it up using this method. If you want to overcome this drawback, you should perform the AP installation using the Netgear Insight app. The app is strictly designed for the management of compatible devices and one can even access the added device on a remote network. No need to connect to the AP to manage it! Isn’t it cool? Well, the setup process is also breeze via the mobile app. How? Let’s find out!
Setup Requirements for Netgear WAX620 Installation
You will either need a PoE switch or a power adapter in order to power up your WiFi access point and set it up in your home. It can be mounted or placed on a desk. However, you will also require a working internet device with an active internet connection. Given below is the information that will help you know how to connect your WAX620 AP to the internet in the presence or absence of a power adapter.
| Connection with PoE Switch | Direct Connection with the Router |
|---|---|
| Using an Ethernet cable, connect the Ethernet port of your PoE switch to the access point. You do not have to use a Power adapter in this case. The PoE (Power over Ethernet) switch will do the power supply as well as the internet connection job via the LAN cable. | If you have powered up your Netgear WAX620 access point with the help of a Power adapter, you have to connect the LAN/PoE+ port on the AP and the router’s LAN port. Ascertain that you are not making loose connections. Otherwise, your access point will lose the internet connectivity. |
The time your AP gets connected to the internet, you will be ready to set it up. Since the blog is all about Netgear WAX620 setup for remote management, we are going to discuss the setup steps via the Netgear Insight app only.
How to Set Up Netgear WAX620 Access Point via App?
Given below are the instructions that you must use for the AP configuration. Just make sure that your mobile phone has the latest version of the Netgear Insight app installed on it. You can get the app from the respective application store of your mobile phone.

- Open WiFi Settings on your mobile phone and connect it to the default network that your WAX620 AP is broadcasting.
- The setup SSID can be found on the label at the bottom of your Netgear AP. However, the WiFi password is shared secret.
- Load the Netgear Insight app now.
- The app will ask you to create MyNetgear account.
- Fill in the form appearing on the screen.
- Ensure to provide the correct email ID.
- In case you already have a Netgear account, log in.
- You must now choose the current (existing) location of the network.
- Want to create a new network location? Tap Next > OK.
- Enter the admin password of the AP and assign a new one.
- You are supposed to follow these steps to add Netgear WAX620 to your network location:
Case 1 (AP is automatically detected): From the Insight Manageable Devices section, tap the AP icon, and tap the button labeled “ADD DEVICE”.
Case 2 (AP is not detected automatically): Tap the + icon in the top bar and tap the SCAN BARCODE button. Go to your AP and scan the code. You can also choose to proceed with the help of the Serial Number.
- You will now be prompted to give a name to your AP.
- Tap the Next option.
- Your AP will now be automatically updated to the latest software version as per the Insight utility.
- The whole process will consume at least 10 minutes in which your AP will reboot.
- Your AP has now become an Insight-managed device and is successfully connected to the Insight Cloud based management portal.
- The Power or Cloud LED of your AP will turn solid blue from green.
You also have the option of setting up the access point via the insight.netgear.com URL. Just use a computer and a web browser instead of a mobile phone and the Insight app. The rest of the process will remain the same. You can now manage your Netgear WAX620 AP either using the app or via the login portal.
The Bottom Line
Wasn’t Netgear WAX620 setup easy? We hope you were able to complete the installation process of your access point in a hassle-free manner. In case you are unable to, we suggest check the Ethernet cable connected to the AP. It must be free of damages at every cost. Enjoy the internet using the newly created WiFi network.


