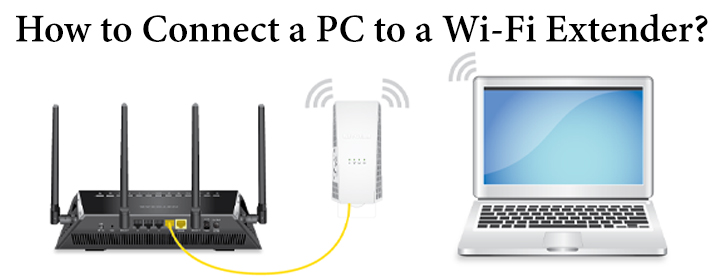
Users generally prefer setting up their range extenders using the WPS button because of its simple steps. Due to this very reason, they don’t know how to connect a PC to a Wi-Fi extender which is an essential step of a range extender setup. Walk through the post and learn the steps to connect the range extender and PC. For easy understanding of the concept, we have taken the example of users who have performed Netgear extender setup.
How to Connect a PC to Netgear Extender?
There are two methods to connect the PC to the network of a Netgear range extender. The first one is very simple and it requires using an Ethernet cable. Just run the Ethernet cable from the LAN port of your range extender to the LAN port of your PC. The PC will be connected to the network. However, for this method to be successful, you should use an undamaged Ethernet cable.
- To connect your PC to the WiFi network of a Netgear range extender, follow the given steps:
- Ensure that your Netgear extender is powered up and that all the lights on it are solid green.
- Switch on your PC.
- If you are using a Windows PC, look for the Globe icon in the task bar.
- Click it to open the network list.
- Find the network name of your Netgear range extender on that list and select it.
- Enter the WiFi password and select Connect.
Note: By default, the SSID of a Netgear extender is Netgear_EXT and the WiFi password is given on the product label.
In this way, you will be able to connect your PC to the WiFi network of a Netgear range extender. These steps apply to Windows PC only. You can also use the WPS button on the extender to connect the PC. In case, you want to connect a Mac to the extender’s WiFi network, follow the steps mentioned in the next section.
How to Connect Mac PC (iMac) to Netgear Extender Wi-Fi?
Here’s how you can connect a Mac PC to WiFi network of a range extender. Just be sure that you have not blocked access to your system through the Netgear access control feature.
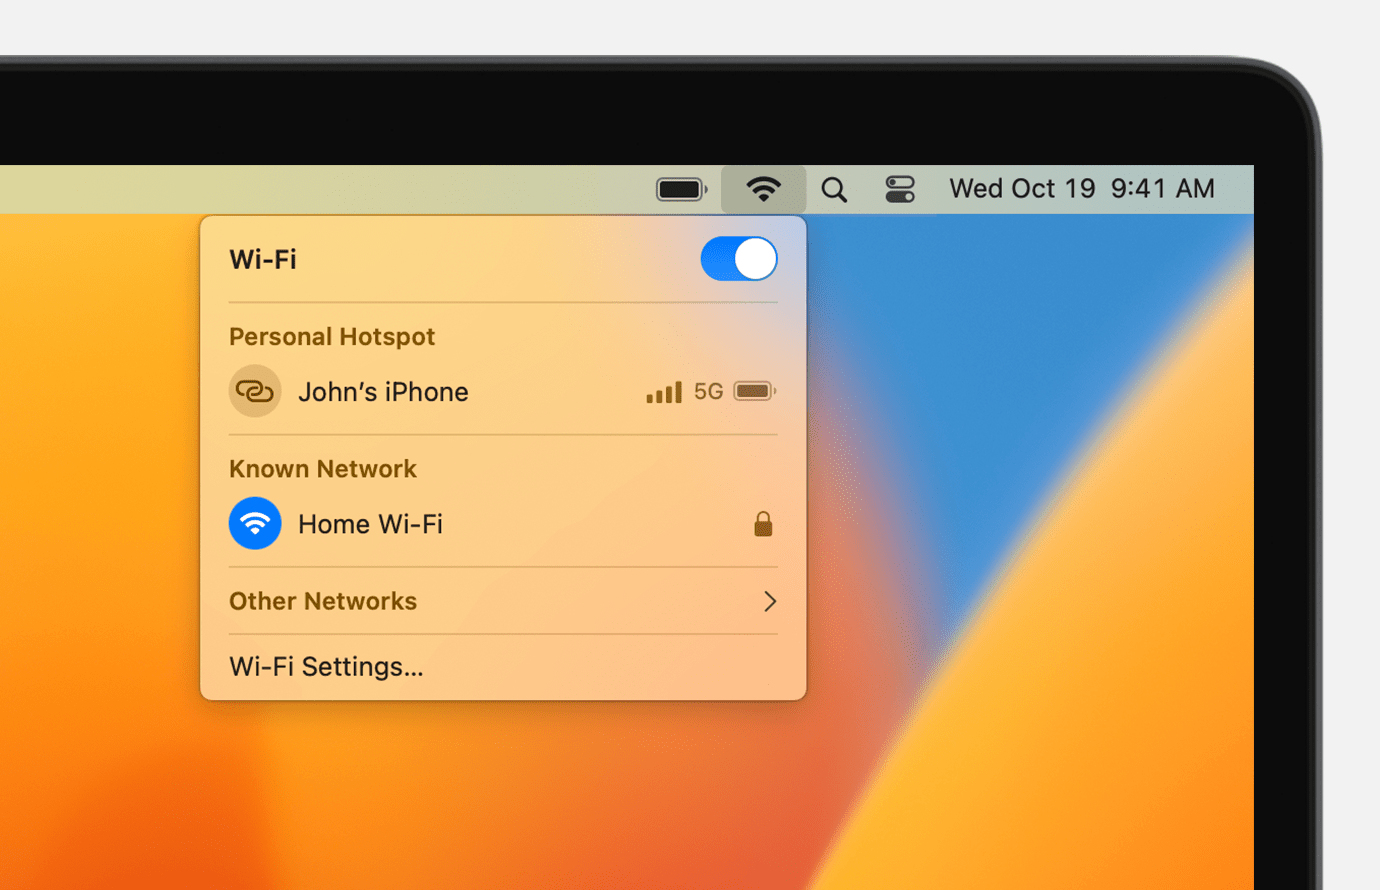
- In the Menu bar, locate the Wi-Fi icon and click it.
- Select the network of your Netgear range extender.
- Enter the WiFi password.
- If you are not able to see the network of the range extender, click Other Networks.
- Click Join after selecting the WiFi network of your range extender.
In this way, you can connect the Mac PC to Netgear extender WiFi network. Know that you can now manage the WiFi settings of the extender through the mywifiext.local URL or the 192.168.1.250 IP address.
Fixed: Can’t Connect a PC to Wi-Fi Extender
Although the above-given steps will help you connect the PC to a WiFi extender network, it is suggested that you follow the below-mentioned tips to fix the problem:
- Be sure that the extender and PC are present in each other’s range.
- Restart the WiFi range extender as well as your computer.
- Ensure that the extender is placed close to the router and in a ventilated room.
- Most importantly, use the correct WiFi password to connect to the extender’s WiFi network.
The Final Words
Our guide explaining how to connect a PC to Wi-Fi extender ends here. The process was all about finding the extender’s SSID on the network list of a PC and entering the respective WiFi password. It is expected that you will be able to connect your devices without any hassle.