Do you find it difficult to connect your Netgear WiFi extender with Viasat internet gateway? Don’t worry! This blog will cover complete guidelines to connect both devices. Make sure you follow the instructions given here carefully.
Steps to Connect Netgear WiFi Extender with Viasat Internet
The process of connecting a Netgear extender and the Viasat internet gateway is divided into parts for your easy understanding. The first part will discuss the steps to reset the extender. For your information, your extender must be working on the default settings before you attempt to connect it to the any router or gateway. Other parts of the blog will discuss the steps to initiate the connection and finalize it.
Note: You must take note of the WiFi settings (SSID i.e. network name and the WiFi password) of your Viasat internet gateway or router.
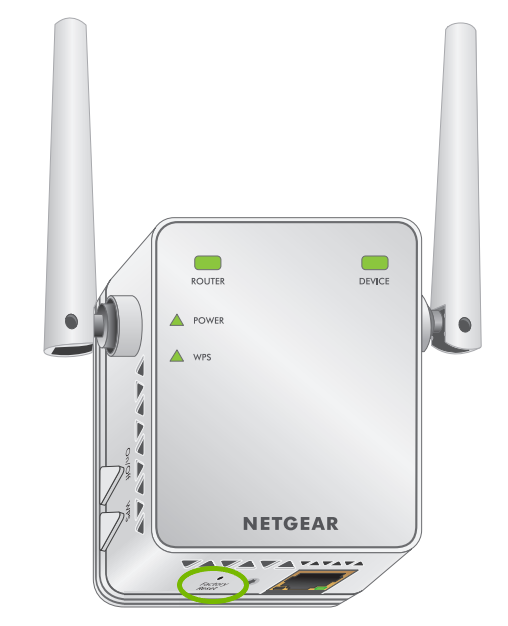
Step 1: Reset the Extender
- Ensure that your Netgear extender is receiving a proper power supply.
- Look for the Reset button on the extender.
- You can find it on the side or bottom panel.
- Press the button using a sharp object.
- Hold the button for 7-10 seconds.
- Your extender will reset.
Step 2: Placement of the Extender for Connection
- Now, unplug your extender from its previous location and plug it into a socket near the Viasat gateway.
- Do not place the extender more than 8ft away from the Viasat gateway.
- If your Viasat router is off, switch it on.
- Your extender must be switched on after the router.
Step 3: Go to Mywifiext.net
- Now, move to your PC and connect it to the Netgear extender WiFi.
- The default SSID is Netgear_EXT and the password is given on the user manual.
- You can also use an Ethernet cable to link the PC and your Netgear extender.
- Open a web browser now and input the mywifiext.net login URL into the address bar.
- Press Enter to see the login page of your Netgear extender.
Step 4: Enter the Viasat SSID and Password
- On the login page, enter admin into the Username field.
- Into the Password field, type password.
- The username and password are case-sensitive. Type them carefully.
- You will get redirected to a page displaying terms and conditions.
- Accept the User Policy and let the Netgear Genie scan for available networks.
- Select the network (SSID) that your Viasat gateway broadcasts.
- Enter the WiFi password very carefully.
- Click Connect.
Step 5: Assign Network and Admin Settings
- You will then be prompted to set SSID and WiFi password for 2.4 GHz and 5 GHz networks.
- Once done, give an admin password to your Netgear range extender.
- It should be different from the WiFi password and must contain letters, digits, and special characters.
- You will also be asked to answer a few security questions.
- They will help you recover the login password in case you ever forget it.
Step 6: Finalize the Connection
- The Netgear Genie setup wizard will now check for a firmware update.
- If there’s a new firmware version, install it with the help of prompts appearing on the computer screen.
- Let the extender restart.
- Reconnect your PC to the extender’s WiFi using the updated details.
- Log in again using the new administrative password.
- Register your Netgear extender if you haven’t done that previously.
This is how you can connect Netgear WiFi extender with Viasat internet gateway. You can now place your Netgear extender halfway between the internet dead zones and the WiFi router. Also, make sure that the chosen location is free of WiFi signal interference.
To Sum Up
The process of connecting a Netgear WiFi extender and a Viasat internet router/gateway is not very difficult. You just have to place both devices closer and access the Netgear Genie interface to change some settings. We are now expecting that you have made a successful connection.