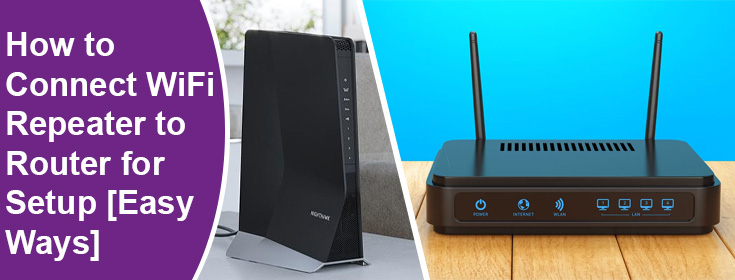
Repeaters are not much different from WiFi range extenders. Thus, the process of connecting a WiFi repeater to the router is almost the same as the extender. In this blog, you will learn two different methods to connect WiFi repeater to router for setup. For your easy understanding, we have taken the example of a Netgear repeater.
How to Connect WiFi Repeater to Router for Setup?
1. The Manual Method
The first method to connect a repeater to the router for the setup process is the manual method in which a user has to key in the WiFi details of the router on the web GUI of the repeater. FYI, you can access the Netgear extender interface at mywifiext.net. Here’s what you have to do to connect a Netgear repeater to a router:
- Start the process by placing the Netgear repeater in the same room as your router.
- Power cycle the router and switch on your repeater after that.
- Once done, connect your computer to the Netgear repeater using an Ethernet cable.
Note: You can also connect your PC to the Netgear_EXT network in case you do not have an Ethernet cable. Just make sure that you are entering the correct default WiFi password of the Netgear repeater (given on the product’s label).
- Now, open a web browser and visit mywifiext.net.
- Go with the mywifiext.local URL if you are using a Mac device (iPad, iPhone, or MacBook).
- You should now accept the terms and conditions of using the repeater.
- There are chances that your repeater will ask for the login details. Enter admin into the Username field and password into the Password field.
- Your repeater will now scan for the available networks.
- Pick the network that your router broadcasts and enter the WiFi password.
- Click Connect and walk through the on-screen prompts to complete the further setup process.
In this manner, you can connect WiFi repeater to router for setup using the manual method. Know that you can also set up the repeater as an access point. However, there needs to be a wired connection between the repeater and router for that. Also, on some repeaters, you will see the AP/Extender mode switch that you have to adjust before beginning the setup process.
The WPS Method
This is the easiest method one can opt to complete Netgear extender setup or install a WiFi repeater from another brand. All you need is a WPS-compatible router that is already configured. You should follow the below-given steps to set up the repeater if you want to use the WPS method:
- Keep the repeater and router in the same room.
- Power up your wireless repeater after switching on the router.
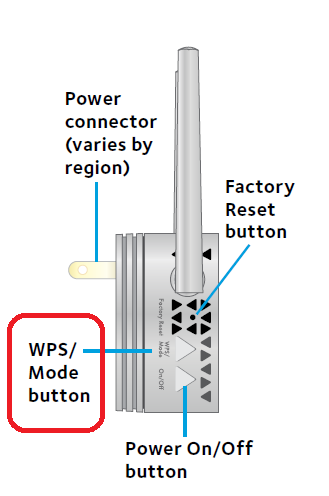
- When the lights on your router and repeater become stable, press the WPS button on your repeater.
- This will make the 2.4 GHz light blink.
- Within 2 minutes, press the router’s WPS button and let the repeater’s 2.4 GHz Link LED become stable.
- Follow the above 3 steps once again if your main router works with 5 GHz frequency too.
- Your devices are connected and the repeater is set up!
This is how you can configure a WiFi repeater with a router via the WPS method. The process is all about pressing of buttons. You must know that the setup will fail if you do not press the WPS button on the second device within 2 minutes of pressing it on the first one.
To Sum Up
That’s all about two different methods to connect WiFi repeater to router for setup. It is anticipated that with the help of the steps mentioned above, you will be able to connect your devices successfully.