What is MyNETGEAR?
MyNETGEAR is an account on which those users can register their Netgear products that have recently purchased them. By doing this, one can activate complimentary 24×7 technical help and get notifications related to product updates as well as offers. In case you do not have a MyNETGEAR account, then you will find the information to create one on this page. Along with that, the process of how to register a Netgear product on the MyNETGEAR portal has also been explained.
For your information, one can register products with the MyNETGEAR portal individually or in bulk. It is important that the user uses a computer that is capable of editing as well as uploading .csv files. This is for the completion of the bulk registration process.
How to Create a MyNETGEAR Account?
1. Access an Internet Browser
Start the process by loading a browser on your device. Before that, your client device is accessing MyNETGEAR Ext. Apart from this; ensure that the browser is clean. This means that it should not be accumulated with browsing history, cookies, and cache.
Apart from using a clean browser, ensure that it is running on an updated version. By the way, not every browser has the same process of getting updated. Taking this into account, if you want to learn how to update your browser specifically, browse the web.
In case you are one of those users who do not have time to update the web browser to the latest version, no issues. To avoid facing browser-related issues during the process, it is recommended that you use the private window.
2. Go to the Official Website
Visit the official website in order to access the MyNETGEAR portal. The website that you need to access to be precise is netgear.com/mynetgear/register/register.aspx. Enter it exactly as it is in the address bar of your browser and press the Enter key.
Many users commit the mistake of confusing the search bar with the address bar and thereby end up putting the address in the search bar. Do not make the same mistake. Only put the address bar or the URL field for that matter to use.
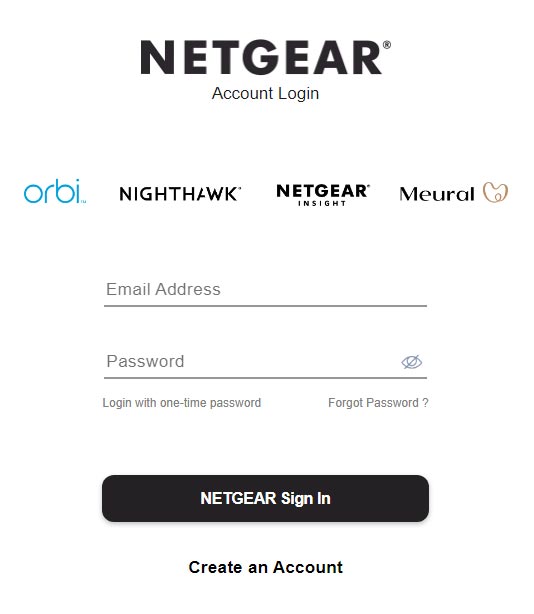
You can take a look at the image given below to know what will appear on the screen.
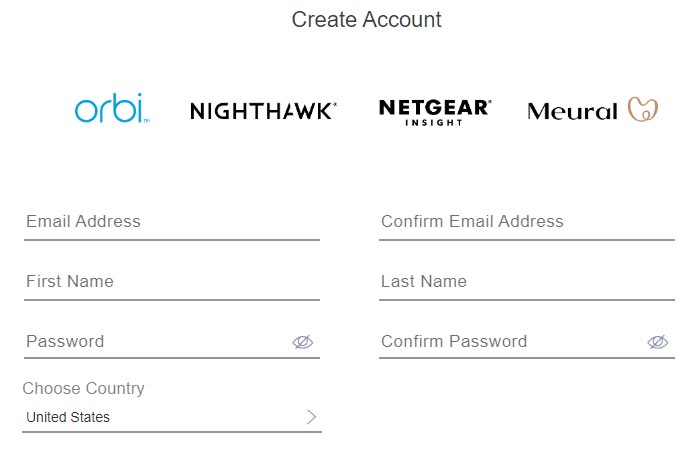
3. Insert the Admin Details
Continue the process by entering your FIRST NAME as well as the LAST NAME. Make sure that the information which you are entering is genuine. Input the EMAIL ADDRESS and PASSWORD. Select the COUNTRY and click the CONTINUE button. Confirm this.
4. Enable 2-Step Verification
Once the two-step verification page comes into view, decide in case you are interested in enabling two-step verification for added security. For this, you need to click YES > ENABLE > ADD PHONE NUMBER. A verification code will be sent to your number.
5. Click the Finish Button
Enter that verification code in the field required and click the VERIFY button. In case you do not want to enable two-step verification, then click NO THANKS. Soon the CONGRATULATIONS page will appear. Now, click the FINISH button.
How to Register Your Product on MyNETGEAR?
Now that have learned how to create a MyNETGEAR account, the next step is to register your product on it. How? Well, for that, the steps given in this section need to be read:
- Go to the website MY.NETGEAR.COM
- For best results, it is recommended that you use the private window for this.
- Enter your email address as well as the password.
- Click the NETGEAR SIGN-IN button.
- Hit the REGISTER NEW PRODUCT button.
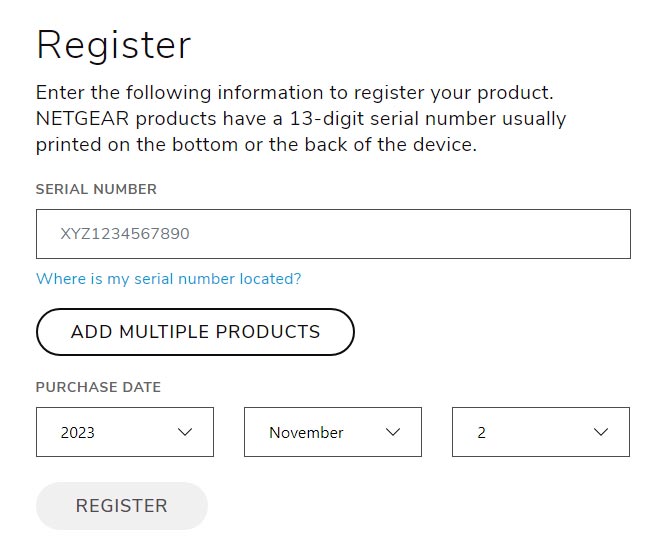
- Soon you will be asked to enter the SERIAL NUMBER.
- Insert the Date of Purchase.
- Click the REGISTER button in order to proceed further.
- You have successfully now registered to your MyNETGEAR account.
In case you are wondering how to register the products on the MyNETGEAR portal in bulk, then it is recommended that you read the information provided in the next section.
How is Registering Products on MyNETGEAR in Bulk Possible?
- Prior to starting this process, make sure that your client device has internet access.
- Also, ensure that you follow each and every step given below attentively.
- The reason being, skipping even one step will cause technical issues in the future.
- Start the process by logging in to the account made by you previously.
- This can be done with the aid of the login credentials.
MyNETGEAR Portal Forgot Password?
We can help you to retrieve it. Simply open a new tab in your browser and go to the portal. Click the FORGOT PASSWORD option. Enter the email address that you entered earlier. Select the reCAPTCHA check box. Click the RESET Password button.
Soon you will receive a code on your email ID. Enter it where it is required. Insert the new password in both fields given. Click the SUBMIT button and hold on for a matter of minutes for the changes to get saved. In this manner, you will able to be get rid of the MyNETGEAR portal forgot password issue.
- Click the Add Multiple Products button.
- In the blink of an eye, the Register Multiple Products page will come into view.
- Create a .csv file of up to 50 NETGEAR device serial numbers you want to register.
- This needs to be done on your client device.
- The client device includes your computer or laptop.
Ensure that the software of your networking device is running on an updated version. Apart from this, ensure that it is not infected with viruses or other malicious software.
- You can download this file by selecting the DOWNLOAD A SAMPLE HERE.
- Go back to the REGISTER MULTIPLE PRODUCTS page.
- Click the CHOOSE FILE button.
- Select the file that you just created and hit REGISTER.
- Soon a registration status screen will appear.
- Click the DONE button at last.
Soon your products are registered to your MyNETGEAR account. Now, you easily get 24×7 help, and notifications related to product updates as well as offers.