Nowadays, a smooth internet is not a luxury it is just a basic need. But when your WiFi struggles to reach every corner of your home or office then it is highly frustrating. That is where a Netgear WiFi range extender steps in to help.
One of the easiest ways to get this extender running is through a local setup link www.mywifiext.net it is not your typical web page, but a private gateway to customize, control and manage your extender’s settings.
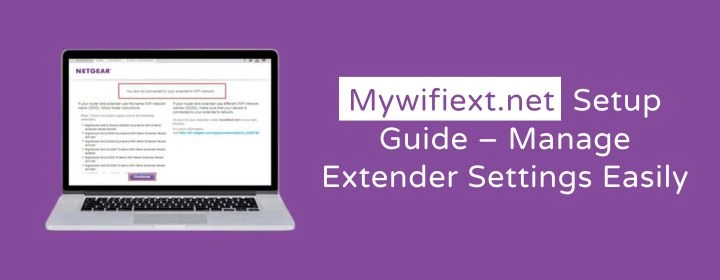
In this guide we will show you how to perform a proper www.mywifiext.net setup and explain how to manage your extender using the www.mywifiext.net extender settings page.
What exactly is www.mywifiext.net?
It is a public site you can visit anytime from your phone. It is a special address that opens the Netgear extender setup panel, but only when you are connected to the extender’s WiFi.
This link works as a remote control panel which allows you the access to manage your device completely. You will need to use it during the initial setup and later when updating firmware, changing WiFi names or adjusting signal settings.
Complete Guide to www.mywifiext.net Setup
Let’s make your WiFi stronger in minutes. Here is the full process which is broken down in simple and clear terms.
1. Get the Extender Plugged In
Look for the power outlet which is near to your router’s range. Plug in it the Netgear extender and give it a minute. You will observe a green light which means it is ready to go.
2. Connect to the Extender’s Network
Go to your wifi settings on your smartphone or computer. Search for the extender’s default name (like NETGEAR_EXT) and make sure to connect with it. This lets your device to communicate directly to the extender during setup.
3. Open www.mywifiext.net in Your Browser
Confirm to open a browser when your device is connected to the extender’s network and type in the address bar www.mywifiext.net and you can also try it with the IP address 192.168.1.250 with this you will enter the setup page. If you are unable to see anything then make sure that you are actually connected to the extender’s wifi.
4. Create Your Admin Login
Once you enter the setup page you will be asked to create custom username and password. This login is just for your extender’s settings not your main WiFi. Make sure to write it down somewhere or keep it saved it safe in a safer place.
This login will help you to access the www mywifiext net extender settings page later on.
5. Choose Your Main WiFi Network
Now the extender will detect nearby WiFi networks. Search for your home router’s name, click it and enter the password. This is how your extender knows which network to extend.
6. Name Your Extended Network
Next, you can either use the same WiFi name or add something small like _EXT to make the difference. Once you named it just click continue. The setup will handle the rest in the background.
7. Connect Back to the Extended Network
Once you get the success message, visit your WiFi settings again. Now you will see your newly extended WiFi name and connect to it and you are good to go.
That is how simple the www.mywifiext.net setup can be.
Accessing the www mywifiext net extender settings Panel
After setup, you will want to manage things like:
- Updating software
- Changing the WiFi password
- Adjusting signal preferences
- Checking connection status
Here is how:
- Make sure that your device should be connected with the extender’s wifi network.
- Open a browser and go to the www.mywifiext.net
- Type the admin login you created earlier.
- You are now inside the extender settings dashboard.
This is where www mywifiext net extender settings come in useful. From here, you can keep your network optimized without doing full reset or complicated tech work.
Troubleshooting the Common Setup Glitches
It is common to face small hiccups. Here are some quick fixes:
Page not loading?
Try to enter the IP address instead of the .net address.
Connection errors?
Cross-check that you are connected to the extender network before starting the setup.
Forgot your extender login?
You will need to reset the device and start again with the www.mywifiext.net setup process.
For doing the reset process make sure to press and hold the reset button with the help of a paperclip for around 10 seconds. After that you will observe that the lights are stable and you are back at square one.
Final Words
Netgear WiFi range extender is a quick and reliable fix for dead spots and weak signals. Using the www.mywifiext.net setup process gives you full control over the extender from day one. And once you are up and running, the www mywifiext net extender settings page makes it easy to manage everything on your own.
You don’t need to be a networking expert to get this done. Just follow the steps above, and your space will have better WiFi coverage in minutes.