Give your existing WiFi an extreme boost with the Netgear WN3000RP N300 universal WiFi range extender. This easy-to-install, compact WiFi range extender creates new WiFi connectivity for up to 1 wired device such as a gaming console, smart TV, or Blu-ray player. Once you setup Netgear WN3000RP N300 WiFi extender, you can easily get rid of the dead zones from your house and get an improved WiFi coverage.
This post will let you know how to setup Netgear WN3000RP universal wireless extender with great ease. Let’s get the ball rolling.
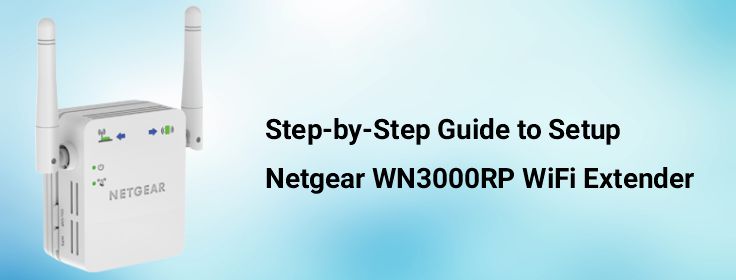
Netgear WN3000RP Extender: Hardware Overview
Prior to getting started with the Netgear extender setup process for your WN3000RP, it is essential that you get familiar with the extender itself. Talking about the hardware, the N300 WN3000RP universal WiFi range extender incorporates the below-given buttons, LEDs, and ports:
- PC to Extender LED
- Power LED
- WPS LED
- Link Rate LED
- Status LED
- On/Off Button
- Factory Reset Button
- Ethernet Port
- WPS Button
Without further ado, let’s make you aware of the process to setup Netgear WN3000RP extender. Continue reading.
Setup Netgear WN3000RP Universal WiFi Extender
Netgear N300 WN3000RP WiFi range extender can be installed in two ways: Manually and via the WPS method. You can select any method you find convenient for you.
1. Manually Setup Netgear WN3000RP N300 Extender
Let’s have a quick look at the step-by-step guide to manually install your Netgear N300 WN3000RP WiFi range extender:
Step 1: Put your Netgear WiFi range extender on power. Simply plug it into an electrical outlet and power it on.
Step 2: Grab an Ethernet cable; it should be free from any sort of cuts. After that, insert its one end into the extender while another to the existing router.
Step 3: Switch on your laptop or computer whichever you often use. Now, double-click on the web browser’s icon you want to open.
Step 4: Use the keyboard and type mywifiext.net in the URL bar. As soon as you hit Enter, the login window will accompany you.
Step 5: Move the mouse cursor in the first field and type the admin user ID. Enter the password in the second field.
Step 6: Locate the Log In button on the bottom side of the screen and click on it.
Step 7: Now, you will see the Netgear Genie setup page. Here, you will be guided through the on-screen instructions to setup Netgear WN3000RP universal WiFi range extender.
Step 8: Simply follow the setup instructions carefully and you are done.
That’s how you can install your Netgear N300 WN3000RP WiFi extender. In the event that you come across any sort of technical issue while setting up the extender, let us know. Our knowledgeable experts are always on their toes to help you out.
2. WPS Method
Another way to setup Netgear WN3000RP N300 extender is the WPS or WiFi Protected Setup method. Let’s make you familiar with the complete steps:
- Position the Netgear WN3000RP range extender and router closer to each other.
- Power on your extender and the router.
- Press the WPS button on your extender.
- In case the WPS LED blinks, it indicates that the extender has started to configure with the WiFi signals of your router.
- Once the WPS LED becomes solid green, it shows that the configuration process has successfully completed.
Done! Your Netgear WN3000RP N300 universal WiFi range extender has been set up and configured. In case of any technical difficulty, reach out to our well-versed experts.