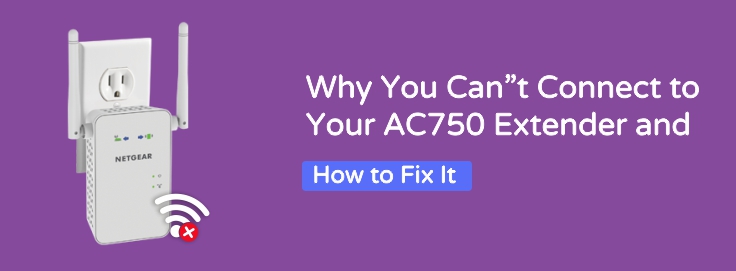
Many people face issues while connecting the Netgear AC750 Extender, so don’t worry if you are also facing this problem. As complicated as this problem looks, it is easier to solve it in reverse. But for this, you need the correct troubleshooting tips that help you to solve these issues. This guide will help you. Here we provide some common and simple solutions. Let’s start:
Why You May Be Unable to Connect to AC750
There are several common reasons why users face connection problems with their Netgear extender. Below are the most likely causes:
- Incomplete or incorrect setup
- Weak signal from your main router
- Wrong Wi-Fi credentials
- Device not connecting to the extender’s network
- Outdated firmware
- Browser or IP address issues
- Not accessing the right setup page
Let’s now take a deeper look at how you can fix each of these problems.
Step-by-Step Fixes for Connection Issues
1. Use the Correct Setup Web Address – Mywifiext
You need to go to www.mywifiext.net in your browser to access your extender’s settings or complete the Netgear AC750 setup. Connect with the AC750 WiFi network to open the mywifiext page. If you are connected to a different network, the page won’t load. If it doesn’t work, try using the default IP address 192.168.1.250.
2. Check Your Wi-Fi Connection
The phone or laptop must be connected to the Netgear_EXT network.
- To connect wirelessly, go to your Wi-Fi settings.
- Look for “Netgear_EXT” and connect to it.
- Then open a browser and go to mywifiext.net to continue your setup.
3. Restart Your Devices
Sometimes, a simple restart can solve many connectivity problems.
- Unplug your AC750 extender from the wall.
- Connect it back in and wait for the power LED to indicate solid color.
- Reboot phone or computer.
- Reconnect to the extender network.
4. Re-run the Netgear AC750 Setup
If you’re still facing issues, it may help to restart the setup process.
- Connect to the extender’s Wi-Fi (Netgear_EXT).
- Open a browser and visit net.
- Follow the on-screen instructions:
- Choose your main Wi-Fi network.
- Enter the correct password for your router.
- Set a name for the extended network (or keep it the same).
Once the setup is complete, connect to the extended network to check if your internet is working.
5. Enter the Right Wi-Fi Password
One common mistake is entering the wrong password for your main Wi-Fi during setup. This causes the extender to fail to connect to your router, which in turn stops your device from connecting to the extender.
Double-check your password and make sure it’s the correct one for your existing router’s Wi-Fi.
6. Reset the AC750 Extender
If nothing else works, it’s time for a full reset.
How to reset:
- Locate the small reset button (usually in a tiny hole on the side or back).
- Use a paperclip to press and hold it for 10 seconds.
- Release when the LED lights start blinking.
- Wait for the extender to reboot and return to its factory settings.
Now you can begin the setup again using mywifiext.
7. Keep Your Firmware Updated
Outdated firmware can also cause connection issues. If you manage to log in, check if there are firmware updates available.
- Go to net.
- Log in with your admin credentials.
- Check the Firmware Update section and follow the steps if an update is available.
Final Tips for Better Performance
Here are a few extra suggestions to ensure you don’t face the “Unable to connect to AC750” issue again:
- Place the extender halfway between your router and the area with a weak signal.
- Avoid thick walls or electronic interference between the router and extender.
- Use the same network name (SSID) for both your router and extender if possible.
Conclusion
We are hoping that above provided troubleshooting tips and solutions helped you to resolve the Unable to connect to AC750 Extender problem. These also includes with rebooting and resetting the extender device.