The netgear AX6000 extender is one of the fastest networking devices that will provide up to 6000 mbps speed when connected to the router. But if you are facing multiple issues and want to resolve them quickly, reset the device. here, you will learn two types of the Netgear AX6000 extender reset processes: soft reset and hard reset. Let’s learn:
Two Types of Resets
There are two kinds of resets for the AX6000:
- Soft Reset (Through Web Interface)
- Hard Reset (Using the Physical Button)
The difference is how you do it. If you can access the extender’s web portal, go with the soft reset. If not, hard reset it using the reset button on the device.
Soft Reset – Via Web Interface
If your extender is still responding and you can log in, this is the more graceful way to do it.
- Connect to the Extender’s Network. Make sure that your computer is connected to the Netgear AX6000’s Wi-Fi (SSID). If it’s already connected, perfect.
- Open a Browser & Go to Mywifiext.net. Launch any browser (Chrome, Edge, Firefox – anything works). In the address bar, type: mywifiext.net. Hit Enter.
- Log In to the Admin Panel. Enter your username and password. (Default is usually admin for username and password for password, unless you changed it.)
- Navigate to Settings > Maintenance > Reset. Once inside the portal, go to the Settings tab, then find Maintenance, and under that, you’ll spot the Reset option.
- Click Factory Reset. Confirm the action. The extender will restart and wipe all settings clean. It may take a few minutes.
- Reconnect Manually after the reset process completes. Reconnect to the default SSID (NETGEAR_EXT) and configure it again from scratch with the help of the Mynetgear account.
Hard Reset – Using the Reset Button
Sometimes it happens that you can’t access the web portal or maybe you forgot the password or it’s not responding. In these situations, go for a manual reset.
- Power On the Extender. Plug in your Netgear AX6000 extender and wait till the LED lights settle – usually about 1-2 minutes.
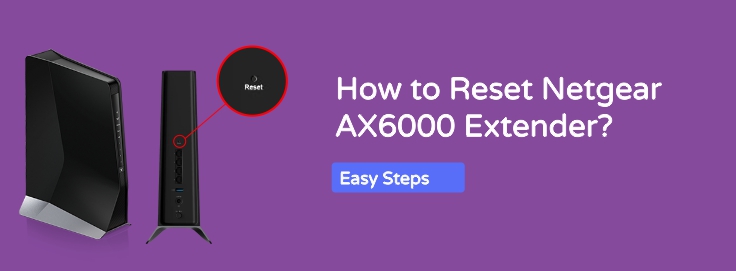
- Locate the Reset Button. Flip the extender around. You’ll find a small Reset hole (often labeled) at the back or bottom.
- Use a Paperclip or Pin. use paperclip or something sharp. Press and hold the reset button for about 10 seconds.
- Watch the Lights. The LEDs will blink or go off momentarily. Release the button once you see that happen.
- Wait for Reboot. Give it around 1–2 minutes. Once the LED becomes stable again, your extender is reset to factory default.
- Reconnect and reconfigure. Now, you can connect to the default SSID and set it up again via mywifiext.net.
After Reset: Reconfigure Your Extender
You’ll now need to reconfigure the AX6000 so it can start extending your Wi-Fi again.
- Connect to NETGEAR_EXT (Default SSID). This will appear in your available Wi-Fi list after reset.
- Go to mywifiext.net Again. Use any browser and go to the same web address. Follow on-screen steps.
- Choose Network to Extend. It’ll scan for your main Wi-Fi. Select your router’s SSID.
- Set Up Extended SSID and Password. You can either keep the same or create a new network name (e.g., HomeWiFi_EXT).
- Finish and Test. Once done, reconnect your devices to the new extended network and check signal strength.
Some Pro Tips to Keep in Mind
- Place it right: Don’t plug your AX6000 too far from your main router. Halfway is ideal.
- Turn to 5GHz if possible: This channel offers faster speed, especially when you’re in close range of the device.
- Firmware Updates Helps: when you complete reset, check there’s a firmware update. That can solve recurring issues.
- Write down your credentials: Save your SSID, password, and admin login info somewhere safe.
The Conclusion
Hope, you have learned how to reset your Netgear AX6000 extender with the help of above given instructions.