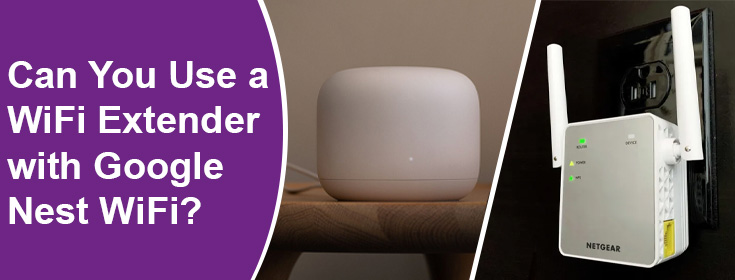
Google Nest is a mesh WiFi router that is known to create a mesh network. It means you can add nodes to the WiFi router that will take the WiFi connection further to the internet dead zones. But, when it comes to using a WiFi extender with a Google Nest router, people generally have a question whether it is possible or not.
Do you have the same question in your mind? If yes, then know that it is possible to use the WiFi extender with Google Nest WiFi router, but, you cannot use it as a mesh node. Instead, it will work as an extender only. Now, walk through the upcoming section to learn how it can be done.
How to Use a WiFi Extender with Google Nest WiFi?
Since Netgear manufactures top-quality WiFi extenders in the world, we will be discussing about the Netgear extender setup with Google Nest WiFi. This is to inform you that you will have to use the web GUI of the extender to complete the connection not the dedicated app of the router. Read the steps given below and understand what is important to use a WiFi extender with Google Nest WiFi:
Perform a Factory Reset Before Everything Else
Prior to learning the setup steps, we would like to inform you that a factory reset is a must before you attempt to connect your Netgear extender with any WiFi router. This is because there are chances that the extender is not running on the default settings. A factory reset will return the extender to its original values which will make things easy for you. To factory reset, press the Reset pinhole button using a sharp object for 7-15 seconds.
- Place your NetgearWiFi range extender in the same room where your Google Nest WiFi router is already working.
- Reboot the WiFi router.
- Now, turn on your Netgear extender and connect your PC to its Ethernet port.
- The lights on your Netgear extender must be glowing green.
- You can also opt to connect your PC and extender through WiFi. For this, you need to connect to the Netgear_EXT network. The WiFi password is given on the product’s label.
- Once done, visit mywifiext.net or mywifiext.local.
- Mywifiext.net is meant for Windows PCs whereas mywifiext.local is meant for Mac devices.
- If you are asked to log in, type admin into the Username field and password into the Password field.

- Thereafter, accept the terms and conditions of using the extender with Google Fiber router.
- A network scan will happen now.
- Look for the Google Nest WiFi router network and enter its WiFi password.
- After that, you need to set the WiFi settings for the 2.4 GHz and 5 GHz networks.
- In case you get disconnected from the extender’s network, reconnect using new details.
- Assign a new admin password to your extender.
- Upgrade the extender’s firmware in case a new version is available.
- At last, register your Netgear extender at the MyNetgear portal if you haven’t done that yet.
- Your WiFi extender is now ready for use with your Google Nest WiFi router.
The Concluding Words
This was all about how to use a WiFi extender with Google Nest WiFi. We are expecting that with the help of the information mentioned in the post, you will be able to connect your devices successfully. Now, you are free to connect your client devices to the newly extended network.