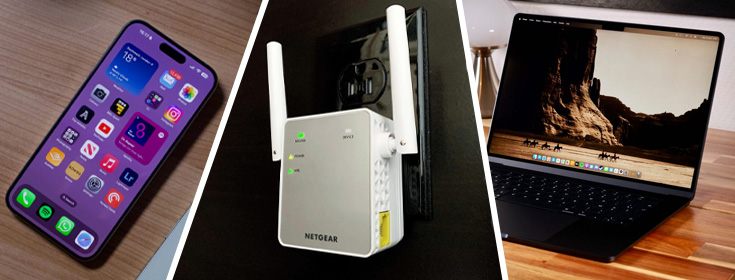
Some users don’t have a Windows PC or an Android phone to configure their WiFi range extenders. In that case, they go for WiFi extender setup using an iPhone or MacBook. If you are also an iOS user and want to make your extender up and running, this blog will help you learn how to configure a WiFi extender using iOS devices. For your ease, Netgear extender setup is taken as an example.
Steps to Configure WiFi Extender Using iOS Devices
The initial steps to configure a WiFi extender via iPhone or MacBook are the same. Read them to proceed further with the setup process:
- Bring your Netgear range extender in the same room as your WiFi router.
- Once done, switch on your WiFi extender followed by the router.
- As soon as the lights on your extender go green, move to the upcoming sections to learn about the rest of the setup process.
I. WiFi Extender Configuration via Mac
Here are the steps to be followed if you want to configure your WiFi extender via a Macbook:
- Switch on your MacBook and open the WiFi Utility.
- There, look for the network named Netgear_EXT.
- Connect to the network using the default WiFi password given in the user manual.
- Open Apple Safari now and go to mywifiext.local.

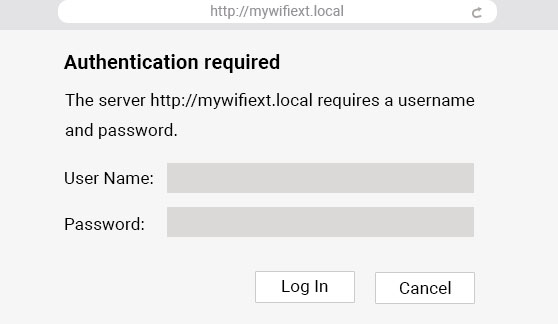
- You extender will now ask you to authenticate yourself.
- Do that by entering the default username and password of the extender printed on the sticker.
- Accept the terms and conditions of using your WiFi extender.
- Choose the network that you want to extend and input the WiFi password.
- Give SSID and WiFi password to the 2.4 GHz and 5 GHz networks of your extender.
- You will then be asked to assign an admin password.
- Also, answer the security questions.
- Lastly, upgrade the firmware of your extender and register it on the MyNetgear portal.
In this manner, you can configure WiFi extender using a MacBook. Now, let us move ahead and discuss the steps that you are supposed to follow in order to install the range extender using an iPhone.
II. Configure WiFi Extender Using an iPhone
The following steps will help you install your WiFi range extender through an iPhone:
- Connect your iPhone to the Netgear extender network.
- Go to the App Store and search for the Netgear Nighthawk app.
- Install the app now.
- As soon as the Nighthawk app installs on your phone, launch it.
- You will be prompted to create a Netgear account in case using the app for the first time.
- Now, select the extender from the list of the products to be installed.
- Follow the on-screen prompts to make the extender up and running.
This is how to configure WiFi extender using iOS devices. But, we would like to bring your attention to the fact that you won’t succeed with the installation process if the range extender is not running on the default factory settings. Thus, you are advised to perform a factory default reset of the extender before configuring it using any device.
Concluding Thought
Our guide on how to configure WiFi extender using iOS devices ends here. Although we have taken an example of a Netgear extender, you can configure WiFi extender from your manufacturer using the same steps. The only difference will be of the app’s name and the default IP and login details of the extender.


