Netgear range extenders are so capable that you can connect too many WiFi devices to its network at the same time. Thus, if we talk about connecting an access point to a Netgear range extender, it will only complicate the network. However, vice-versa is completely doable. In this blog, we will discuss the steps to connect UniFi AP outdoor and a Netgear range extender.
Note: Although we have taken examples of a Netgear extender and a UniFi access point, you are free to connect your range extender and access point using the information given here. However, there will be a slight difference in menus and default values.
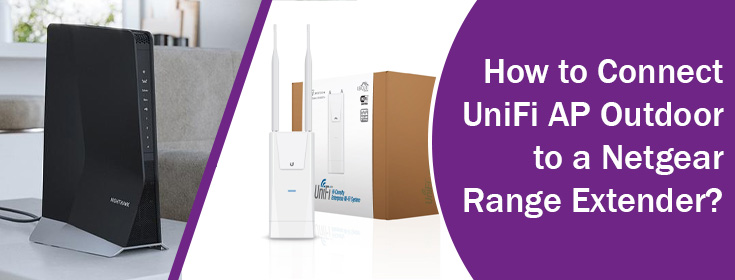
Steps to Connect Netgear Range Extender and UniFi AP Outdoor
Before you get started, you are advised to check that your UniFi AP outdoor is broadcasting its SSID and your range extender is allowed as its client. To do that, you will have to launch the UniFi Controller software on your computer and add the MAC address of your Netgear extender there. For your information, the extender’s MAC address is written on its label. Now, follow the steps given below to connect your access point and Netgear extender:
- Place your Netgear range extender in the same room as your UniFi access point.
- You are now required to switch on the extender and let its Power light turn green.
- Thereafter, connect your mobile device to the network name Netgear_EXT.
For Your Knowledge: Netgear_EXT is the default WiFi name for Netgear extenders. The default WiFi password is given on the label of the extender. You will also find the default admin username and password written there i.e. admin and password respectively.
- Open Play Store or App Store now and search for the Netgear Nighthawk app.
- Install the app and launch it.
- If you are using the app for the first time, you will be prompted to create MyNetgear account.
- You will have to use your email ID and password for that.
- Thereafter, select your Netgear extender from the devices to be installed.
- You will see a few on-screen prompts.
- Follow them to complete the connection process between your UniFi AP outdoor device and the Netgear extender.
- You will also be asked to input the SSID and WiFi password of your UniFi access point. So, enter them very carefully when required.
In this way, you will be able to connect your Netgear extender to a UniFi access point. Know that the connection will fail if you are not using an updated version of the Nighthawk app and if your extender is placed at a distance more than 8ft from the access point. However, you can change the location of the extender after connection. But, you should not place the extender out of the range of the router.
Can’t Connect UniFi AP and Netgear Extender via Nighthawk App?
You can connect your WiFi devices through a web browser via the 192.168.1.250 IP address if the extender does not support the Nighthawk app. Some of the extenders that can be managed using the app are EX6250, EX6400v2, EX6420, EAX50, EAX80, EAX11, EAX14, EAX15v2, EX7700, EX8000 extenders.
The Conclusion
That is all about how to connect UniFi AP outdoor and a Netgear range extender. We hope that you have connected your devices successfully. But, you should know that the performance of the devices connected to the extender’s WiFi will not be as same as that achieved from the extender-router connection.